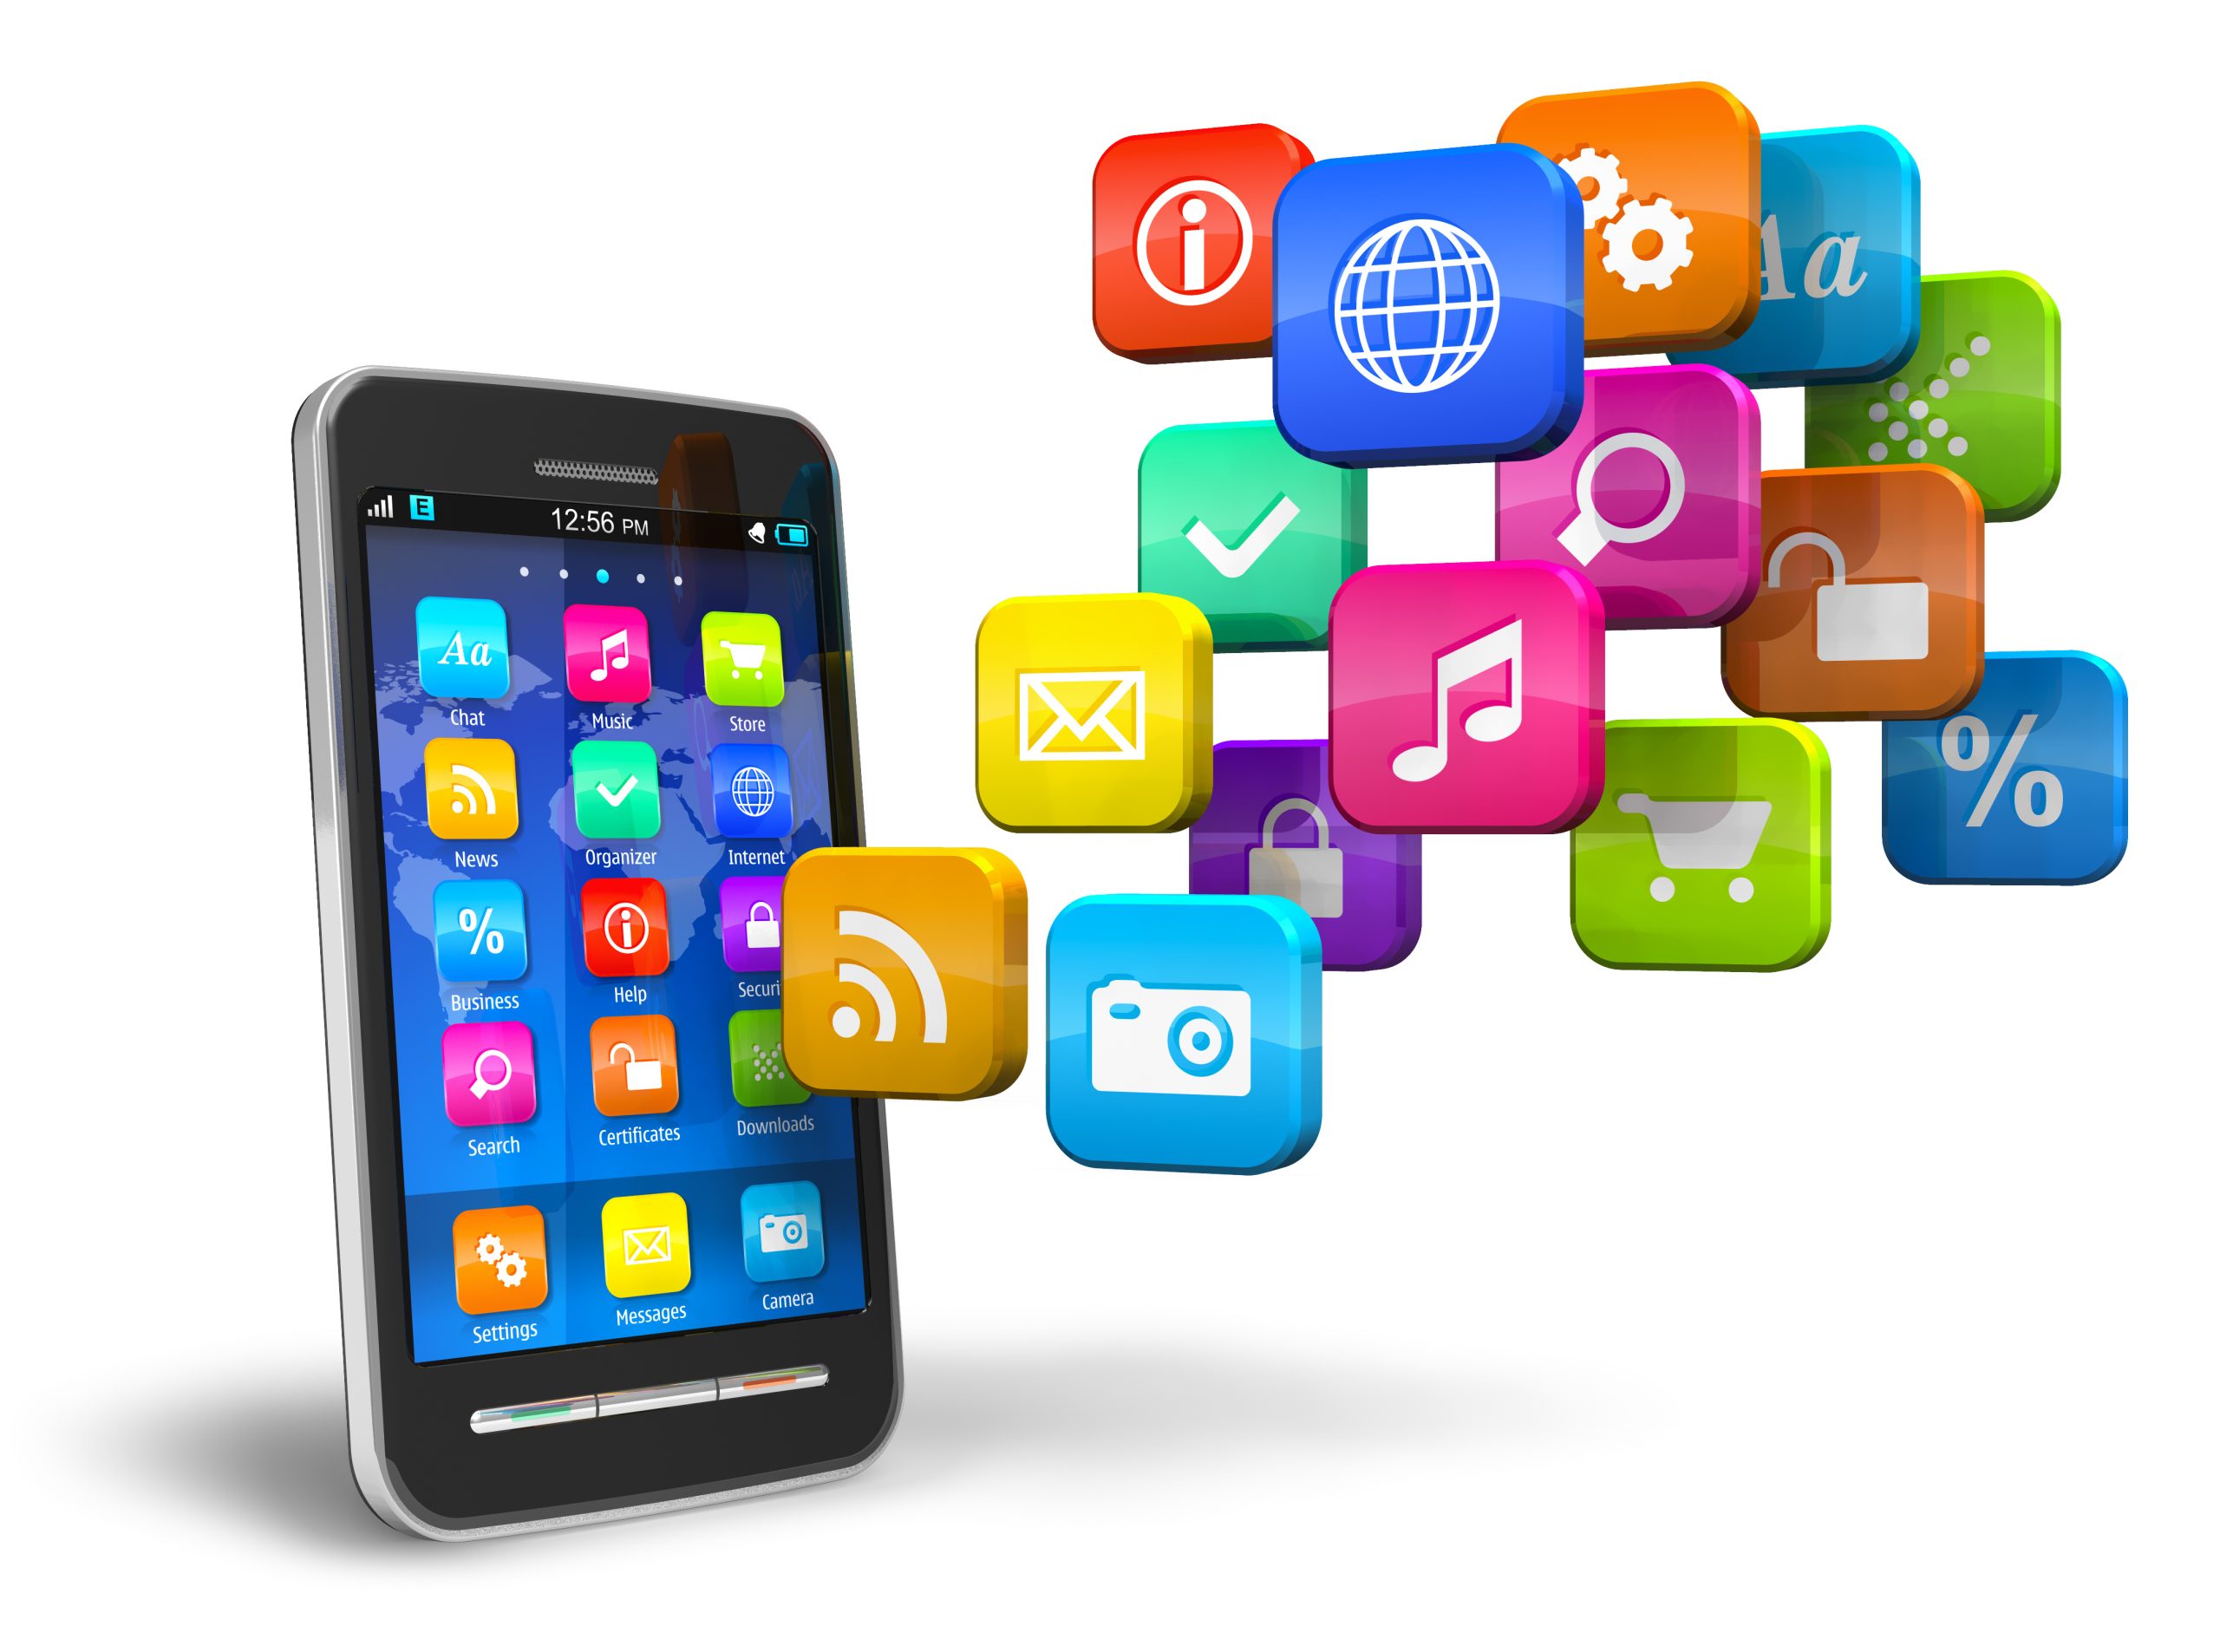
Ever wish you could run an Android app or game on your PC so you weren’t relegated to a tiny phone screen? Maybe you need to test a feature on Android, but don’t have an Android device handy. Your options will depend on what mobile device you own or what version of Windows you’re running, but here are a few ways to run Android (and its apps) on your computer.
1. Mirror Your Phone With Windows
For apps installed on your phone, you don’t need anything fancy to get Android on your PC. Microsoft’s Your Phone(Opens in a new window) app allows you to connect your Android mobile device to Windows in order to access apps, view notifications and photos, and send messages. You can even add Android apps to Favorites or pin them directly to the Windows taskbar.
If you want to mirror your phone screen directly, click the phone screen image in the Your Phone desktop app(Opens in a new window). Grant permission to the app on your phone, and your phone screen will be displayed in Windows. You can then navigate the phone screen with the click of the mouse.
This isn’t always the ideal solution. While the feature will work with many Android devices, it works best with Samsung phones(Opens in a new window). Some features require a Windows 10 PC running the May 2020 Update or later with at least 8GB of RAM and Android 11.
If you’re looking to play games, this may come with some delay and graphical blurriness, and you won’t be able to easily share files from your PC directly to an app in Android. But it works in a pinch for quick access to Android apps you already have installed. (Here’s more on connecting an Android phone to a Windows 11 PC.)
2. Run Your Favorite Apps With BlueStacks
If you’re just looking to run a couple apps and don’t need the emulator to look like Android, you should try BlueStacks(Opens in a new window). Over the years, it’s become the best Android app emulator around, making it a great solution for games and apps that don’t have a corresponding desktop version.
BlueStacks 5(Opens in a new window), the latest version of the software, takes up(Opens in a new window) 5GB of space on your computer (plus any apps you download). Open the app, and you’ll be greeted with a customized home screen and access to the Play Store. Download any apps you want, and they will appear on the BlueStacks home screen and your Windows desktop as their own shortcuts. Just double-click an icon to run the app in question.
If you specifically want to play Android games on your computer, consider installing BlueStacks X(Opens in a new window) instead. This version of the program is a cloud-based solution that allows you to stream games without the need to download them first. For this reason, there are no storage requirements with BlueStacks X.
The emulator features built-in mappings for your mouse and keyboard, which you can customize to the touch controls you find on different Android games.You can also adjust the resolution, DPI, FPS, and amount of CPU or RAM allocated to the emulator, ensuring you get the best balance between speed and graphical fidelity.
Since BlueStacks uses virtualization to emulate Android, you’ll want to jump into your computer’s BIOS and enable Intel VT-x or AMD-V, if your computer supports it, for best performance. You may also be able to search for “Turn Windows features on or off” in Windows and check the Virtual Machine Platform option.
BlueStacks does, unfortunately, come with some ads and clutter, but it’s not as intrusive as it once was, and it’s a small price to pay for the functionality you get—especially considering the Android version options(Opens in a new window) it offers.
3. Emulate Full Android Experience With Genymotion
If you’re looking to explore the Android operating system itself—rather than individual apps—Genymotion is a decent emulator.Its main product is designed for developers and costs money to use, but there is a free version of the software(Opens in a new window) you can download for personal use; you just need to first create an account on the website.
Genymotion uses VirtualBox to emulate Android, so you’ll either need to have VirtualBox installed on your PC or download the version with VirtualBox bundled. During the download process, make sure you select the Personal Use version during the wizard. (And, like BlueStacks, you’ll want to enable Intel VT-x or AMD-V from your computer’s BIOS if you have it.)
When you start Genymotion, it’ll present you with a list of device templates you can install—this determines the screen resolution, Android version, and resources allotted to the emulator. Install the template you want and double-click it to enter Android. You’ll be able to navigate around the home screen, launch apps, and emulate certain events like GPS location.
Note that you’ll start with a very barebones version of Android that doesn’t even come with many of Google’s apps or modern features, though you can add the Play Store by clicking the Open Gapps icon in the sidebar to install it.
Also, no matter which template you choose, you won’t get any custom versions of Android—picking the Samsung Galaxy S10 template, for example, won’t get you Samsung’s One UI. It just determines the resolution and specs of the virtual machine. (Genymotion does support Android versions from 4.4 all the way up to 10.0, though.)
Genymotion works well for exploring Android’s settings and other built-in features, though I wouldn’t necessarily use it to run individual apps, as it doesn’t integrate as well with your PC as something like BlueStacks. If Genymotion doesn’t suit your needs, Google’s official Android software development kit(Opens in a new window) also comes with an Android emulator, though setup is more complex.
4. Run Android Directly on Your PC With Android-x86
If you’re looking for something a bit more full-featured, the Android-x86(Opens in a new window) project gets you as close as you can get to true Android on your PC. Android-x86 is an open-source project that ports Android to the x86 platform, allowing you to run it on your computer instead of an ARM-based phone or tablet.
To run Android-x86, you have a couple of options. If you want to run Android on its own, as a desktop operating system for your PC, you can download it as an ISO disc image and burn it to a USB drive with a program like Rufus(Opens in a new window). Then, insert that USB drive into the PC in question, reboot, and enter the boot menu (usually by pressing a key like F12 during the boot process).
By booting from your Android-x86 USB drive, you’ll either be able to run Android in a live environment—without having any effect on your PC—or install it to your PC’s hard drive for permanent usage (and better performance).
Alternatively, if you want to run Android-x86 on top of your existing operating system, you can download the disc image and run it inside VirtualBox(Opens in a new window). This is, again, a bit more advanced if you aren’t familiar with VirtualBox, but our guide to running Windows on a Mac can get you acquainted with the process.
The official site has some tips for getting Android-x86 up and running(Opens in a new window) in a virtual machine as well. It’s more work than using something like BlueStacks, but it’s also closer to pure Android, which is a nice perk.
5. Install Android Apps From the Amazon Appstore
With Windows 11, Microsoft adds built-in support for Android apps, which is now available to all users who meet the system requirements. In order to run Android apps in Windows, you will need to ensure your OS and the Microsoft Store are updated, then install the Amazon Appstore (and Windows Subsystem for Android).
You can then download Android apps from Amazon’s storefront. This feature remains in preview, so there may be a limit to the number of apps that are available for download.